Step 1
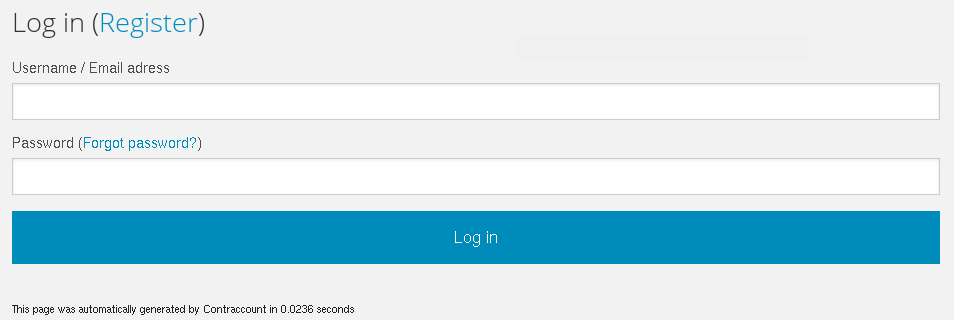
Log in to Contraccount.
Step 2
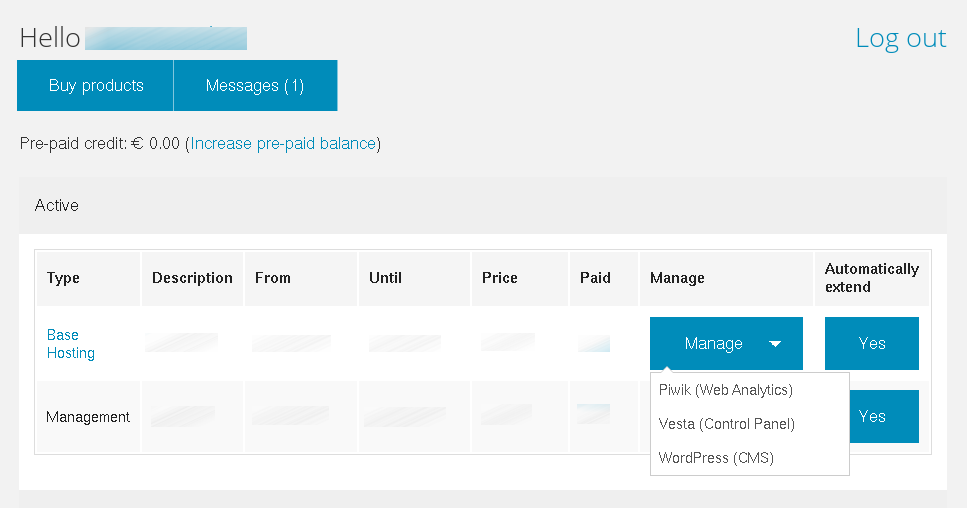
Click on Manage for the service you want to manage, followed by a click on Vesta.

Step 3
Click on Mail.

Step 4
Click on the + add account button for the desired domain name.
Step 5
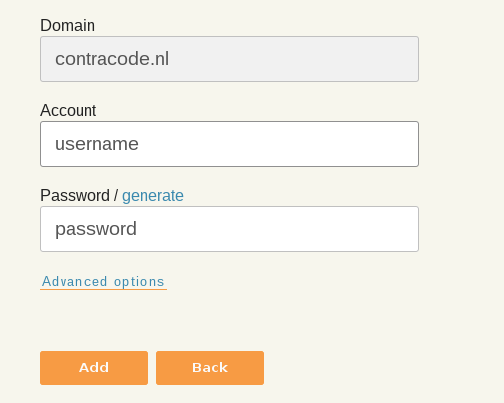
Choose an username (the part before @), a password, and click Add.

You're done
Congratulations! You can now use your new mail address.
